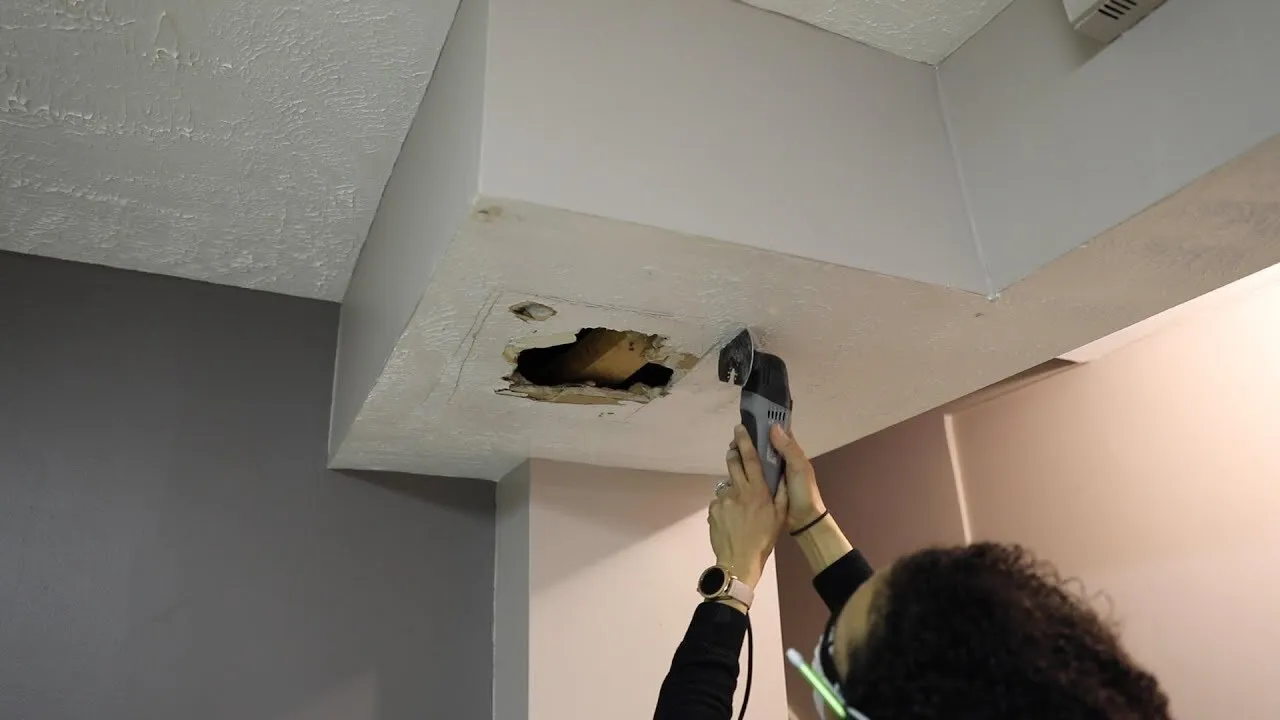
Are you tired of staring up at a cracked, stained, or sagging ceiling in your mobile home? A damaged ceiling can be not only an eyesore but also a safety hazard. Whether it’s due to water damage, age, or wear and tear, repairing or replacing your mobile home ceiling is essential for keeping your living space safe and comfortable.
Water, badly staining the ceiling or worse, is the most common cause of damage to mobile home ceilings. Over time, a leaking ceiling will cause the ceiling boards to sag.
Sagging ceilings can be repaired in several ways. If the ceiling boards are severely damaged or broken, they should be removed and replaced. In any case, you can repair the ceiling yourself.
It is common for mobile homes without sheetrock ceilings to have tile or ceiling boards. Ceiling tiles are commonly 16 inches or 4 feet wide and run along the entire width of the house. Some variations of ceiling tiles are held up with screws and rosettes. Some tiles/panels are screwed up at the seams and then covered with plastic splines. Whatever the situation, we have put together a handy guide for you to help you with your mobile home ceiling!

Mobile home ceiling repair
- Repair
If the tile has become wet due to a ceiling leak and has sagged, the sag will generally not come out. A very slight sagging tile can be corrected by wetting it with a spray bottle and pushing it up for several days. It is not guaranteed to work. Here is another method to fix the sagging seam.
A more effective solution is to insert boards at the seams of each panel. At these truss points, long screws can be used to draw the panels into their proper position – whether breaking or lifting them in place. For visual consistency, this method should be applied evenly throughout the room. Prior to screwing, it’s important to paint and stain the board accordingly.
- Replacement
When a ceiling tile becomes damaged, replacing it can be a real headache. First, you need to find ceiling tiles that match. Many types of tiles aren’t available, and if they were available, the installation would be a real challenge due to their length. Even getting a ceiling tile into a room can be a challenge. Therefore, if you are unable to replace the tile(s), you may have to build a new ceiling. Three types of ceilings are typically installed in manufactured homes – sheetrock ceilings, suspended ceilings, and paneled ceilings.
- Sheetrock Ceilings
The weight of sheetrock ceilings should be taken into consideration when installing them. Normal construction uses 5/8” thick sheetrock because it will not sag. However, 5/8” thick sheetrock is heavy, and it is generally hung on joists 16 inches apart. It would be much lighter and less likely to cause roof problems to use 1” sheetrock, but it would also require joists or supports every 12 inches.
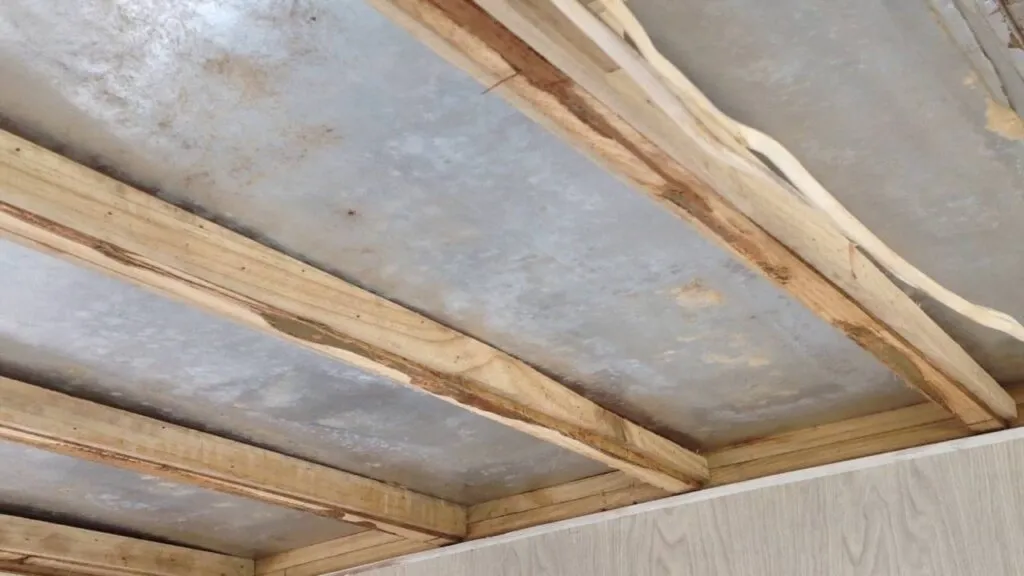
Furring strips (1×4 boards) should be screwed across the ceiling joists 12 inches apart (left picture). If you have a flat surface, you can keep your existing ceiling over the furring strips. Otherwise, take down your current ceiling to make room for insulation if needed, and screw the furring up. You can even cut out any dips in the furring with shims before putting them in place. To confirm that the flatness of the furring is consistent, pull strings from side to side and corner to corner. If there’s more than a ¼” gap between them and the strip, adjust accordingly to get an even look. The smoother your furring installation job, the more attractive your finished ceiling will be.
Once the furring strips have been leveled and installed, you can now go ahead and install ½” sheetrock. First, use a bead of construction adhesive over the furring strips followed by carefully setting screws below the surface—without breaking the paper. Mesh tape is usually recommended for taping the seams, as it is easier to work with and unlikely to crack in comparison with other tapes. Applying three coats of joint compound (mud) is also required. Let each coat dry before lightly sanding it down—preferably with a lite-weight joint compound. Finally, apply a coat of sheetrock primer and paint; adding texture to it as well if desired; using mixed paint to avoid the need for a separate coat of paint in the end.
Texturing Tips
When taping and mudding, take your time so that the seams are not visible when you are done. For the beginner, this will mean lots of sanding.
Generally, mobile homes without sheetrock ceilings have tile or ceiling boards. Some types of ceiling tiles are held up with screws and rosettes, but others are screwed up at the seams and then covered with a plastic spline. Ceiling tiles are generally 16 inches or 4 feet wide and run the length of the home.
Texture spraying is a much easier task than mudding. An air compressor and a $60 texture sprayer are all you need to get the job done. Before mixing, determine if you want your texture to be fine, medium, or coarse – then pour half a bag of dry texture into a 5-gallon bucket and mix it with 1 gallon of ceiling white paint. Add water until you get the desired consistency – like soft ice cream. Leave the mixture in the bucket for an hour, stirring occasionally. This will ensure that the paint is completely absorbed into the texture, resulting in uniform coloration. You may need to add water in small amounts as needed while waiting for it to soak in. Don’t forget to cover walls and floors with plastic beforehand!

Mobile home ceiling panel for replacement
Charge your air compressor to 80 pounds and make sure it has an 11-gallon tank. Pour the texture mixture into the hopper and then practice spraying on a scrap piece of drywall. If it doesn’t come out well, thin it down by adding some extra water to your 55-gallon bucket. Once you start spraying, keep moving and if you don’t like the results, scrape it off and try again. Monitor your air pressure as well, because letting a compressor run continuously may cause it to overheat – in that case, rent an actual texture sprayer.
You can roll on texture or apply paint with texture if you don’t want to spray texture or don’t have an air compressor.
- Suspended Ceiling
Suspended ceilings are a type of tile system affixed onto a gridwork. They come in two sizes: 2’x2′ and 2’x4′. A whole host of textures are available and can be installed right beneath your existing ceiling. However, any old ceilings that are loose or hanging must be taken down for safety, as they may collapse or affect the suspended ceiling. The installation process is simple – just hang the grids with wire secured to the former ceiling, then drop in each tile. Detailed instructions can be found at most stores where you buy your grid and tiles.
- Paneled Ceiling
In case you don’t think you have the ‘touch’ to make a textured sheetrock ceiling look good, you may get good results with paneling you don’t think you have the ‘touch’ for it. There are so many options for paneling available today that it’s easy to get pretty creative when decorating your ceiling.
The first step to installing paneling is to install furring strips every 12 inches across the rafters. Since the paneling is so thin, the furring strips are essential to prevent the paneling from sagging.
The paneling can then be installed once the furring strips have been leveled and screwed in place. An air-finishing nailer is a real lifesaver when working overhead. Apply a bead of construction adhesive to the furring strips, and then nail up the paneling using finishing nails.
As soon as the paneling is up, the seams can be decorated with stained rough-cut wood or whatever creative flair you’d like.
For more ideas, check out your local home improvement store if you don’t want to use wood paneling.
Final Thoughts
Repairing or replacing a mobile home ceiling is not an easy task but it can be done with the right tools and techniques. If you are not confident in your ability to tackle this project on your own, it may be best to hire a professional.
Remember that prevention is key when it comes to maintaining your mobile home’s ceiling. Regular inspection and maintenance will help keep any issues at bay and prolong the life of your ceiling.
See Also:
- Mobile Home Leveling: 10 Steps to Properly Level a Mobile Home
- Free Mobile Home Removal: 5 Ways to Get Rid of Your Home
- Mobile Home Underbelly Insulation & Repair
- Mobile Homes for Sale Near Me: A Guide to Finding Your Perfect Home Nearby
- Home Staging Hacks to Help Your Mobile Home Sell Faster

